HELLO DEAR FRIENDS.....
Thank you all so much for allowing me to express my self during this time. The support I received both here and in my "real" life ( as opposed to electronic life) was much appreciated.
Now to resume somewhat normal programming I have tried to put together a tutorial on a little drawstring bag that I know as the "origami" bag.
I was given this pattern many years ago and it had no designer or copyright on it. I have also googled it and have again found no designer claiming it as their original....so now we can get down to it!


Firstly you will need two pieces of fabric and approximately 1m of cord.
All seam allowances are 1/4 inch.
CUTTING
Cut both fabrics to an 18.5 inch square.


Now a trick to determine if indeed the fabric is square is to fold it on the diagonal and see if all sides match up. You will soon see if one side is slightly too wide.
ASSEMBLY

Turn so right sides are now outward
Slip stitch the opening closed

So now you will have a fabric placemat type of thingy.
With fabric you want for the inside of the bag facing uppermost , fold into thirds making sure the points touch the opposite fold.


Fold Point A to Point B.

Now hand stitch through the two folded layers from point A to B to C.
When you have done this you should have something like this.

The folded layers are secured and you will have a tube type of thingy.
Now find the centre by folding the piece in half.

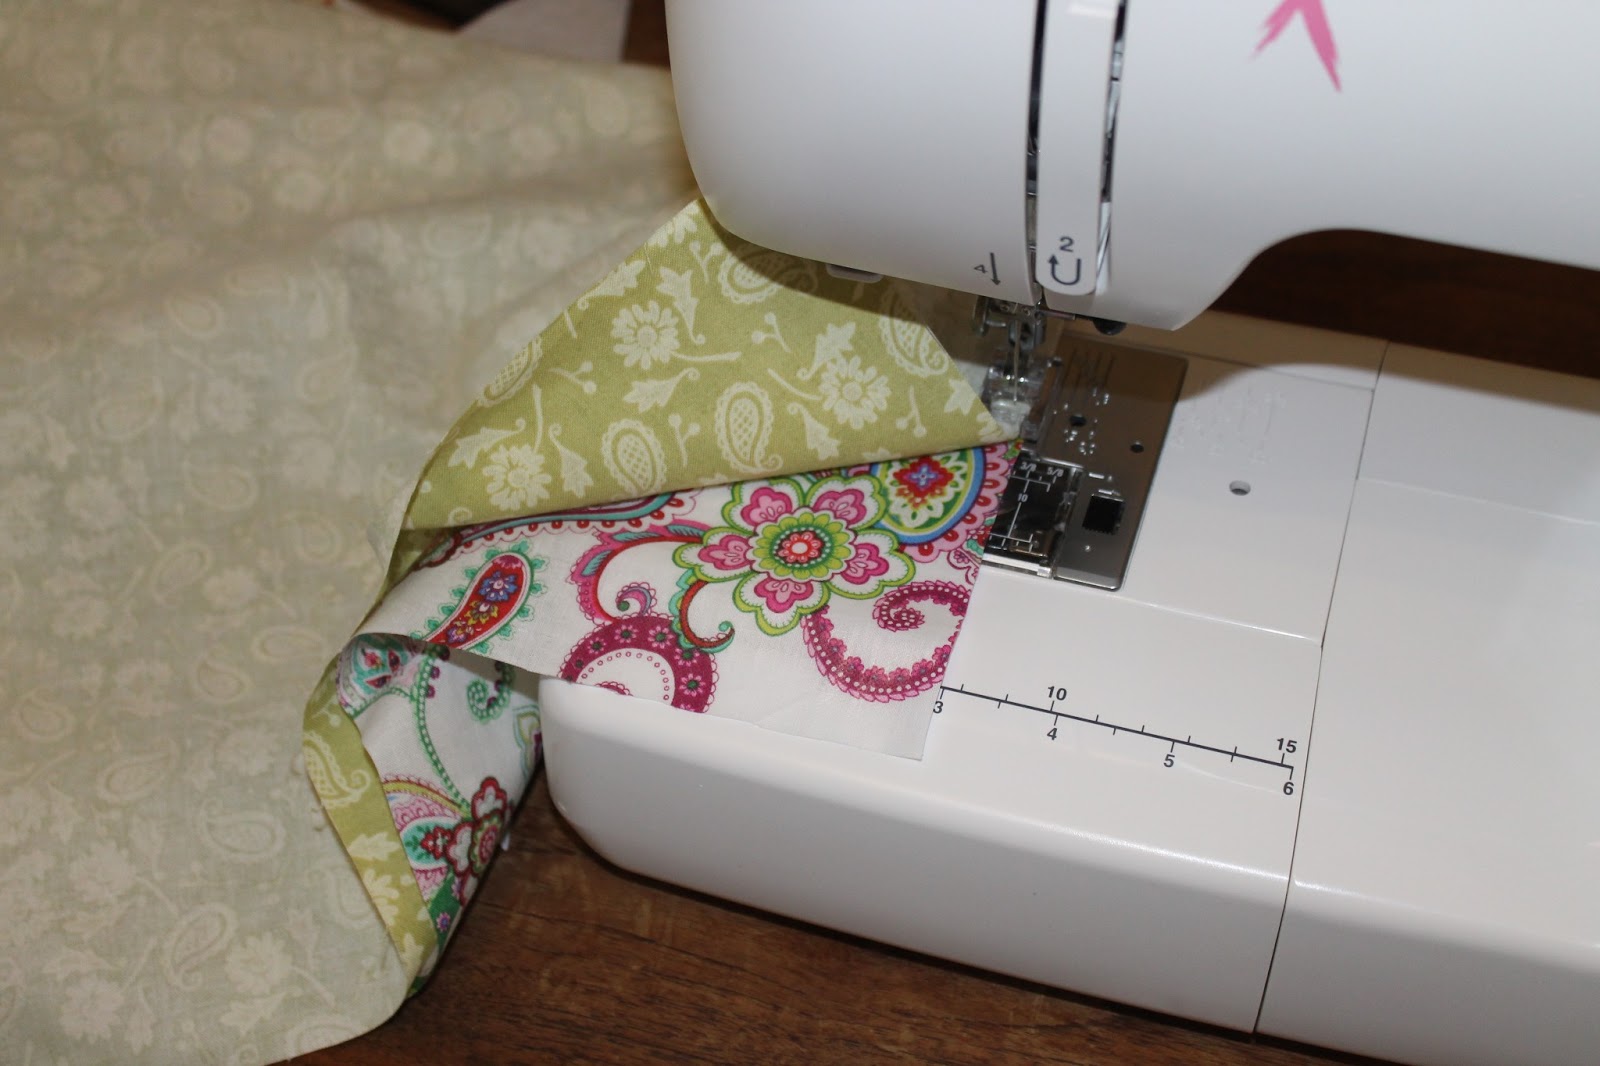
and sew by machine through ALL layers.
More folding now..( origami bag remember)

Fold the triangular ends in towards the sewn line, leaving a
2 1/2inch gap between the points.
The crayoned in sewing lines may help make sense of the following instructions...or not...:-)


Go back and sew another line parallel BUT now only 1/4 inch in from the folded side


Now you have a casing for the drawstring.
Fold the bag, RIGHT SIDES together......that is the flaps are inside.

And machine stitch the sides together from the fold up to the drawstring casing.
DO NOT sew through the drawstring casing.
Now the magic happens turn the bag inside out again and look what you should have!!


I have skimped the drawstring bit, if you like I could explain that further. Just let me know.
I have basically done two loops.
I have cut my length of cord in two and created two loops through the drawstring casing.
One loop with both ends of the cord coming out of the left hand side of the bag, and other loop with the ends coming out of the right hand side of the bag.
When you pull on each side it draws the bag closed.
That I will explain in the next tutorial.
I have no more pictures.
I apologise but as this is my first tutorial I may have confused people....I would love your feedback so I can improve.
Thanks for that, I have been looking for a safe house for my Easter eggs...will let you know if it works. Eco Ethel xx
ReplyDeleteI love this idea, I will have a go at it, I was only thinking yesterday I need to make some more. I usually have a little stash, they make great pressies! :) x
ReplyDelete